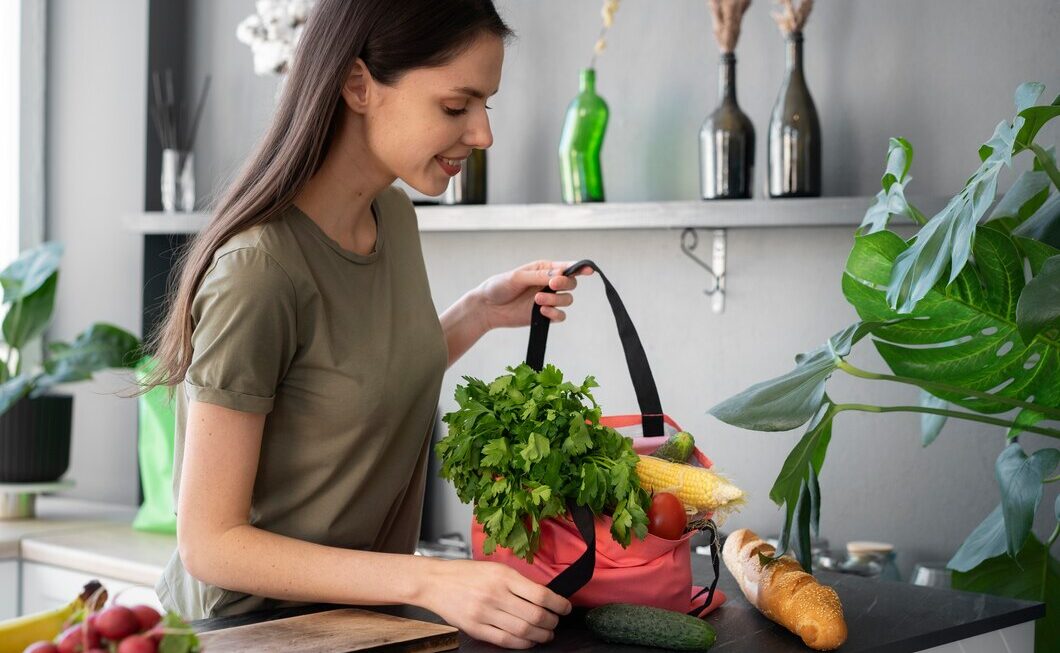


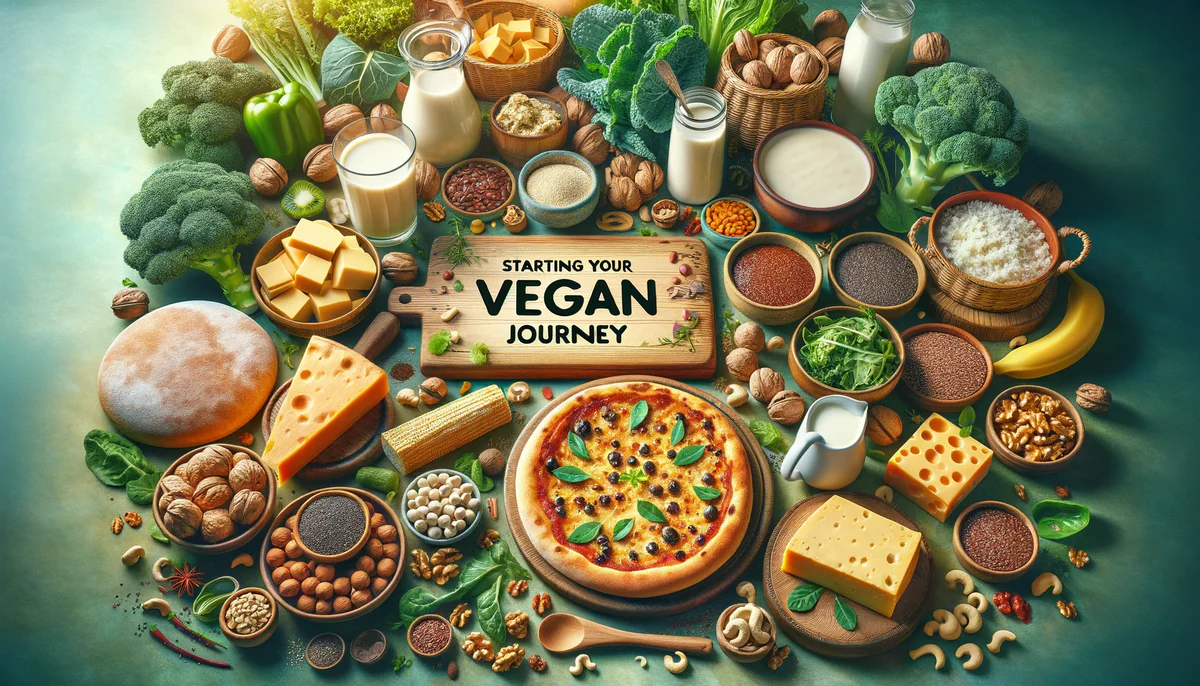
Do you have a passion for creating vibrant, delicious vegan food? Do you dream of sharing your favorite recipes, tips, and culinary discoveries with the world? Starting a vegan food blog is an incredible way to combine your love for plant-based cooking with creativity, community building, and even the potential for income. Start a Vegan Food Blog: Tips & Ideas for Success — your go-to source for practical Vegan blog tips to grow, inspire, and stand out.
The online food scene is bustling, but there’s always room for unique voices and mouthwatering recipes. This step-by-step guide will walk you through everything you need to know to launch and grow a successful vegan food blog in 2025. Get ready to turn your passion into a thriving online presence!
How to Start Your Own Vegan Food Blog?
Step 1: Find Your Unique Vegan Niche & Brand
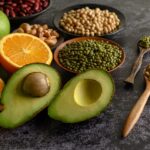
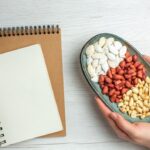
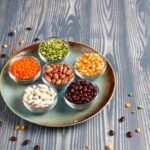
The vegan world is vast! To stand out and attract a dedicated audience, you need to find your specific niche. Simply being “vegan” isn’t enough anymore.
- Brainstorming Your Angle: What makes your approach unique? Consider specializing in:
- Budget-Friendly Vegan: Affordable meals and tips for saving money.
- Quick & Easy Vegan: 30-minute meals, one-pan wonders for busy people.
- Vegan Baking: Cakes, cookies, bread, pastries – mastering plant-based & vegan baking.
- Specific Dietary Needs: Gluten-free vegan, soy-free vegan, oil-free WFPB (Whole Food Plant-Based).
- Global Cuisines: Vegan Indian, Vegan Italian, Vegan Mexican, etc.
- Health & Wellness Focus: Nutrient-dense recipes, meal prepping for fitness goals.
- Gourmet Vegan: Restaurant-style dishes, advanced techniques.
- Identify Your Ideal Reader: Who are you creating content for? Students on a budget? Busy parents needing quick dinners? New vegans looking for guidance? Health enthusiasts? Knowing your audience helps tailor your content and voice.
- Choose a Memorable Blog Name: This is your online identity! Make it:
- Relevant to your niche.
- Easy to spell and remember.
- Unique and catchy.
- Crucially: Check if the domain name (.com preferred) and social media handles are available.
- Define Your Brand Voice & Visuals: How do you want your blog to feel? Friendly and conversational? Funny and quirky? Calm and instructional? Decide on your writing style and visual aesthetic (photography style, color palette, logo). Consistency builds recognition.
- Insider Tip: Choose a niche you are genuinely passionate about. Your enthusiasm will fuel your creativity and resonate with readers during the inevitable ups and downs of blogging.
Step 2: Choose Your Platform & Technical Setup
Getting the technical foundation right from the start saves headaches later.
- Domain Name & Hosting: Once you have a name, register the domain (Namecheap, Google Domains). Then, choose a web hosting provider. For beginners, shared hosting from reputable companies like SiteGround or Bluehost is often sufficient. As you grow, you might consider managed WordPress hosting (WP Engine, Kinsta) for better performance and support.
- The Power of WordPress.org: While free platforms like Blogger or WordPress.com exist, self-hosted WordPress (.org) is the gold standard for serious bloggers. It gives you:
- Complete control over design and functionality.
- Ability to install plugins for specific features (like recipe cards!).
- Full ownership of your content.
- Unrestricted monetization options.
- Select a Foodie-Friendly Theme: Your theme controls the look and feel. Choose one that’s:
- Responsive: Looks great on all devices (desktops, tablets, phones).
- Fast-loading: Crucial for user experience and SEO.
- Designed for Food Blogs: May include built-in recipe indexes, nice gallery options, and clear layouts. Popular choices include themes built on the Genesis Framework (like Foodie Pro), Kadence Theme, or Astra, often used with starter templates.
- Essential Plugins: Plugins add functionality. Start with these key ones:
- Recipe Card Plugin: Essential for food blogs. WP Recipe Maker or Create by Mediavine are top choices. They format recipes clearly and add Schema markup, which helps Google understand your content and show rich snippets (like ratings, cook time) in search results.
- SEO Plugin: Yoast SEO or Rank Math guide you in optimizing your posts for search engines.
- Performance Plugin: Caching plugins like WP Rocket (paid) or free options like W3 Total Cache speed up your site.
- Security Plugin: Wordfence Security or Sucuri Security help protect your site from threats.
- Anti-Spam Plugin: Akismet helps filter out spam comments.
- Common Pitfall: Starting on a free platform and then facing a complicated migration process later. Invest the small amount needed for hosting and a domain for self-hosted WordPress from day one.
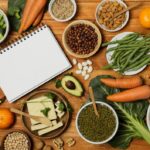
Step 3: Master Content: Mouthwatering Recipes & Photos
Content is king, and in food blogging, high-quality recipes and visuals reign supreme.
- Success Element: Your recipes and photos are the heart and soul of your blog. Invest time here!
- Develop & Test Reliable Recipes:
- Offer original recipes or unique, well-tested variations of classics.
- Test every recipe thoroughly before publishing. Ensure instructions are clear, concise, and easy to follow.
- Provide accurate measurements in both imperial (cups, oz) and metric (grams, ml) if possible, catering to a global audience.
- Write Engaging Recipe Posts:
- Share a brief personal story or context behind the recipe (keep it concise!).
- Explain why the recipe is great (flavor profile, ease, occasion).
- Offer helpful tips, potential substitutions, or storage advice.
- Structure your post for readability: use headings (H2, H3), short paragraphs, and bullet points.
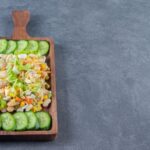
- Food Photography is NON-Negotiable: People eat with their eyes first! Your photos need to make readers want to lick the screen.
- Lighting: Natural light is your best friend. Shoot near a window, usually with the light coming from the side or slightly behind the food. Avoid direct, harsh sunlight and harsh overhead kitchen lights.
- Styling: Keep it clean and focused on the food. Use neutral backgrounds, simple props (linens, cutlery, small bowls) that complement the dish, not distract. Ensure appealing plating.
- Composition: Experiment with angles (overhead shots are popular for process steps, 45-degree angles often showcase texture well). Use the rule of thirds.
- Editing: Use editing software (Adobe Lightroom is industry standard, but free mobile apps like Snapseed are great starters) to adjust brightness, contrast, white balance, and sharpness. Aim for bright, clear, natural-looking photos.
- Consider Video Content: Short-form video (Instagram Reels, TikTok, YouTube Shorts) is booming. Simple, well-lit overhead videos showing key recipe steps can significantly boost engagement and reach.
Step 4: Plan Your Content & Conquer SEO Basics
Creating great content isn’t enough; people need to find it!
- Create an Editorial Calendar: Plan your content in advance. Consider seasons, holidays, ingredient availability, and popular trends within your niche. Aim for consistency – starting with 1-2 high-quality posts per week is a good goal.
- Basic Keyword Research for Recipes: Think about what terms your ideal reader would type into Google to find your recipe.
- Examples: “easy vegan lasagna recipe,” “best vegan chocolate chip cookies,” “how to make tofu taste good.”
- Use tools like Google’s search suggestions, “People Also Ask” section, Google Keyword Planner (free), or more advanced tools like Semrush or Ahrefs later on.
- Target “long-tail keywords” (more specific phrases) which often have less competition.
- On-Page SEO for Blog Posts: Optimize each post:
- Include your target keyword naturally in the post title, URL, headings (H2s, H3s), introductory paragraph, and image alt text (descriptions of your images).
- Use your recipe card plugin correctly – it adds crucial Schema markup.
- Write a compelling meta description (the short snippet shown in search results) to encourage clicks.
- Link to other relevant recipes or posts on your own blog (internal linking).
- Build Topical Authority: Consistently publishing high-quality, helpful content focused on your niche signals to Google that you’re an expert in that area.
- Tool Spotlight: Install Google Analytics to track your website traffic (who visits, how they find you, what content is popular) and Google Search Console to monitor your site’s health and search performance. Both are free and essential.
Step 5: Promote Your Content & Build Your Tribe
Hit publish? Now it’s time to spread the word!
- Leverage Visual Social Media:
- Pinterest: A powerhouse for food bloggers. Design multiple eye-catching “pins” (vertical images with text overlay) for each recipe post. Use relevant keywords in your pin descriptions and board titles.
- Instagram: Share your best food photos and engaging Reels. Use relevant hashtags (mix popular and niche ones like #veganfood #plantbasedrecipes #veganblogger #[yourniche] #vegan[yourcity]). Use stories for behind-the-scenes content. Add your blog link to your bio (using a tool like Linktree or a dedicated landing page).
- Start an Email List Immediately: Your email list is your most valuable asset – a direct line to your most engaged readers. Offer a compelling freebie (a small recipe ebook, a meal planning template, a cooking checklist) in exchange for sign-ups. Use an email marketing service like Mailchimp (free plan available), ConvertKit, or Flodesk.
- Engage, Engage, Engage: Blogging is social!
- Respond thoughtfully to comments on your blog posts and social media channels.
- Connect with other vegan bloggers: comment on their posts, share their content (genuinely!), and build relationships.
- Consider Guest Posting (Later On): Once you have solid content, writing a guest post for another established blog in your niche can introduce you to a new audience.
Step 6: Monetize Your Passion (Strategically)
Yes, you can make money doing what you love, but build your audience and trust first.
- Display Advertising: Once you have consistent traffic, you can join ad networks. Google AdSense is accessible for beginners, but premium networks like Mediavine or AdThrive (which require higher traffic levels, typically 50k+ sessions/month) offer much better rates. Find a balance between ad revenue and user experience.
- Affiliate Marketing: Recommend products or services you genuinely use and trust (kitchen tools, specific vegan ingredients, cookbooks, online courses). Use unique affiliate links; if someone purchases through your link, you earn a small commission. Popular programs include Amazon Associates. Always disclose affiliate relationships clearly per FTC guidelines.
- Sponsored Content: As your blog grows, brands relevant to your niche may pay you to create content featuring their products (e.g., developing a recipe using their vegan cheese). Authenticity is key – only partner with brands you align with. Always clearly disclose sponsored posts.
- Selling Your Own Products: Create and sell digital products like recipe ebooks, meal plans, or online cooking workshops. This often offers higher profit potential than ads or affiliate marketing.
- Common Pitfall: Trying to monetize too aggressively too soon. Focus on providing value and building an audience first. Overloading your site with ads or irrelevant affiliate links can drive readers away.
Step 7: Analyze, Adapt, Be Patient & Persistent
Building a successful blog is a marathon, not a sprint.
- Track Your Progress: Regularly check Google Analytics. What posts perform best? Where does your traffic come from? What are people searching for on your site? Use this data to inform your content strategy. Monitor Google Search Console for technical issues or SEO opportunities.
- Learn and Adapt: The digital world changes fast. Stay updated on blogging best practices, social media algorithm changes, and trends in the vegan food world. Be willing to experiment with new content formats or strategies.
- Patience is Key: It takes time—often months, even years—to build significant traffic and income. Don’t get discouraged by slow initial growth. Stay consistent, keep publishing high-quality content, and celebrate your progress along the way.
- Stay Passionate: Remember why you started. Your genuine love for vegan food and sharing it with others is your most powerful asset. Let it shine through!
Conclusion
Starting a successful vegan food blog is an exciting journey that combines culinary creativity with digital entrepreneurship. By finding your unique niche, setting up a solid technical foundation, creating outstanding recipes and photos, mastering SEO basics, promoting strategically, and being patient and persistent, you absolutely can build a thriving online space.
The world is hungry for more delicious, inspiring vegan food. Now is the time to take that first step and start sharing your passion with the world. Happy blogging!
Further Exploration
- Advanced Food Photography & Styling Techniques
- A Deep Dive into SEO for Food Bloggers
- Strategies for Building an Engaged Email List
- Mastering Pinterest and Instagram for Food Bloggers
- Comparing Blog Monetization Models: Ads, Affiliates, Products
- Essential Legal Pages for Your Blog (Privacy Policy, Disclosures)